About this deal
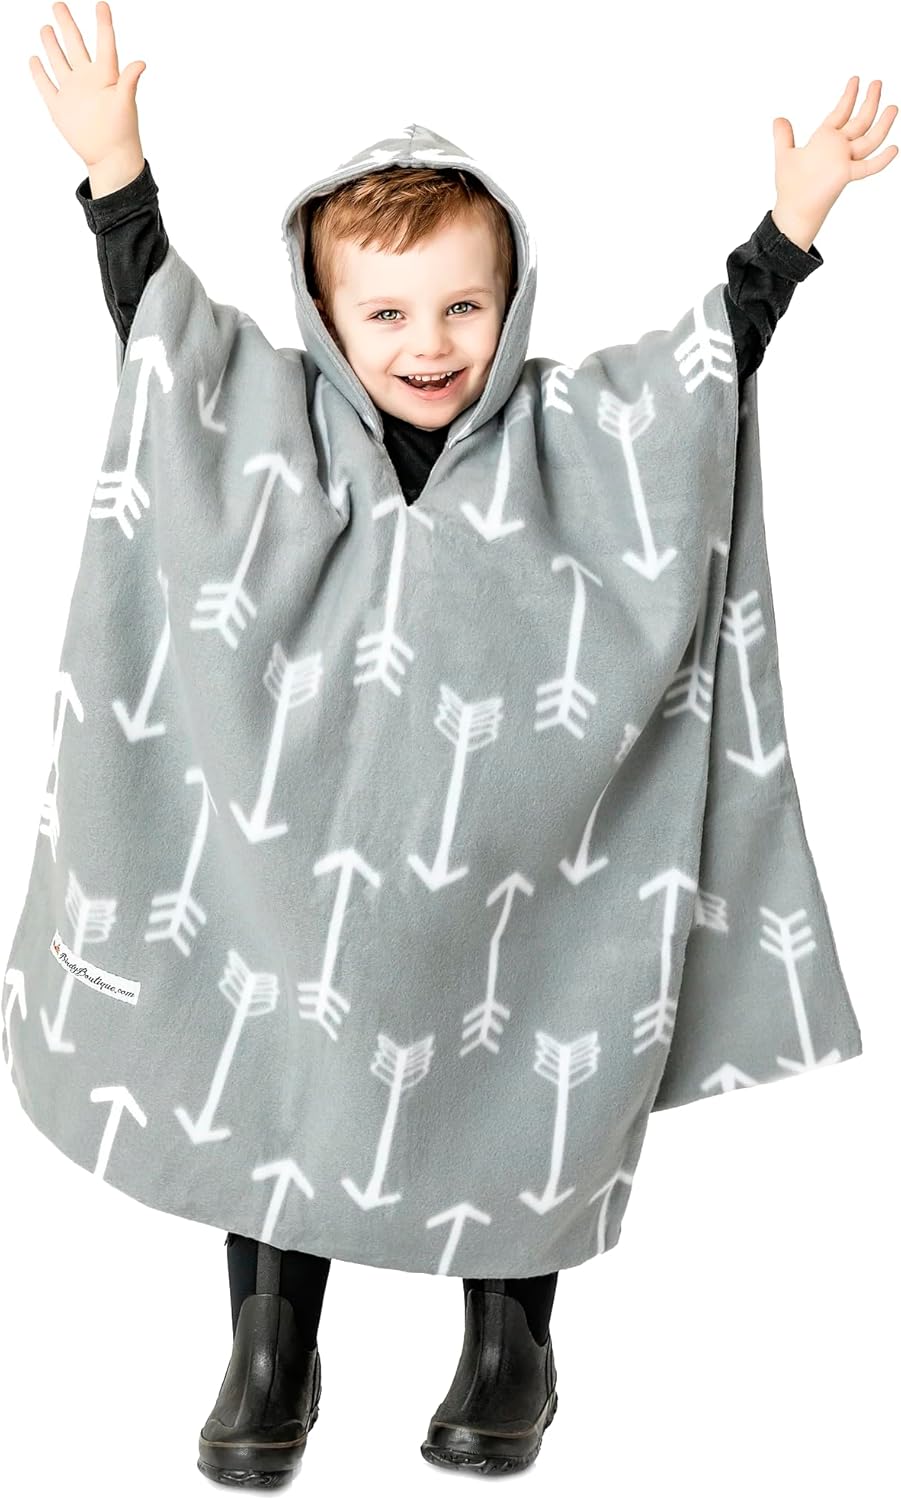
You have several choices in this tutorial and all options are cozy warm, double-layered and reversible. The sizing of this poncho is meant for a 6 month old to a 3 year old. Our own kids started with these in car seats and strollers and then wore them out and about walking and running.
I opted to make a very generously sized hood for this poncho. It is 16 stitches wide(meaning I started with a chain of 18 stitches), and 22 rows long. After finishing your rows for the hood, slip stitch the top together by folding the hood piece in half and seaming one side together from the edges/corners to the fold. When finished, leave a tail of 4-6 inches if you would like to use it to attach the Pom Pom later. Attaching the hood I needed to cut a hole for the head, but I wanted to be really careful not to make it too big… because that can’t be fixed! You can always make a hole bigger later, but smaller? Not so much! To make the button loops, I did a simple chain stitch with a single strand of the tan yarn and a much smaller crochet hook. When all four were done, I tied the ends together around a stitch in the poncho body, so that each loop could slide easily and would be in the right place. Fold the car seat poncho in half to find the center of the front, then cut a slit (I cut about an inch and a half). Sew around it close to the edge just to keep it from fraying. It doesn’t have to be pretty because it will be covered! Then cut a diamond shape out of your fleece material the same width of the opening between the two edges of the hood. Note: MAKE SURE THAT THE RIGHT SIDES ARE TOGETHER AND IF YOU HAVE DIRECTIONAL PATTERNS MAKE SURE THEY ARE FACING THE RIGHT WAY UP WHEN YOU CUT. IF YOU DON’T DO THIS YOUR HOOD WILL NOT GO TOGETHER CORRECTLY.
Step 4c – Sew the front pieces together.
Note: Measurement I used for the length of my poncho was 23″… my video has instructions on how to adjust if needed, but this measurement has worked well for my kids. I have a feeling a LOT of you are going to be making one of these car seat ponchos for toddlers for your little one, so be sure to send me pics or tag me on social media! (@RealityDaydream) …I can’t wait to see how yours turns out! STEP 6. Sew around the hood opening. Choose a loose zig zag stitch for this part. All you are doing is closing up the two layers so that it is easier to sew the hood on. You will have to do a lot of shifting of the fleece to ensure that the layers stay even. If it’s easier, go ahead and pin to keep the layers in place. I usually start this about an inch down from the bottom of the opening and go up and around. I sew right over that same inch on the bottom to make sure there is no unraveling. Step 7. Cut Out Hood Pieces
Find the center of the circle and pin it so you don’t lose it. Then place your circular item over it, trace with a marker, and cut out your circle! STEP 7. Cut out hood pieces. Fold the fleece in half, right sides together, so you have two layers. First, you’ll want to go to stitchuponatime.com and grab the free Riding Hood car seat poncho pattern. Place the pattern on fleece and pin if you would like. I use a rotary cutter but you can also use scissors to cut out the shape. And cut! If you are using two different patterns of fleece, cut out 1 (double) pattern of each design. Step 8. Pin Hood Pieces NOW it’s finally time to cut out the circle of fleece! Cut it slightly smaller than the existing hole, because I’m going to hem them over too.With right sides together pin the two hoods together, making sure the seam at the top lines up on bothpieces. Using a walking foot sew the two together using a .5 inch (1.25cm) seam allowance. Turn hood right side out and set aside. Step 6 – sew the outer body of the cape together
If you make one for a baby, just make sure to adjust the size down so the baby doesn’t end up with fabric over their face. I would probably leave off the hood too. You just want to be cautious about baby overheating or suffocating. I know this is going to get long with lots of pictures but bear with me so you can create your own awesome car seat poncho!Lay out the fleece on a large surface, smooth it out, and measure (twice!). Mark the cut points with a removable ink pen or chalk and cut 2 rectangles, 38 in x 28 in each. The great thing about this poncho tutorial is that the pieces don’t have to be perfect, they don’t have to perfectly align and you won’t even see a difference. Step 3. Pin Body Pieces Cut an 18” x 18” square out of your fleece fabric. Fold the edges over and hem them (about an inch). Then fold the hemmed edges in toward each other with the pretty side of the fabric on the inside. Then sew across the folded edge. I used 23″. From the corner of your fabric where all four corners are folded, measure out your 23″ (or whatever) and mark all along the curve. For the tie in the side poncho I put three strands together again, and chained 90 stitches. This made my tie/drawstring for the hood measure about 44 inches long with plenty of stretch. For putting the tie in around the hood,make sure you thread it through before putting the pom-poms on the ends. STEP 9. Sew hood halves, flip, and top stitch. Sew hood halves together leaving a 2-3 inch opening along the bottom (base) of the hood. Flip the hood halves out and pull the edges and corners out with your fingers and/or pins. Top stitch the hood halves just like you did the body of the poncho. Slow down when you get to the opening and use your fingers to match up the edges. Do this for the other half as well. Step 10. Sew Hood Pieces Together
 Great Deal